Window cleaning can be both tedious and hazardous—especially when dealing with high-rise exterior glass. Automated helpers have gained widespread popularity (learn more in our article on why people love window cleaning robots.
If you recently picked up or are considering the HUTT A1 Window Cleaning Robot, this complete step-by-step user and maintenance guide will help you achieve crystal-clear, streak-free glass safely and efficiently.
1. Preparation & Setup
Before letting your robot tackle your windows, proper setup ensures strong suction and reliable safety:
-
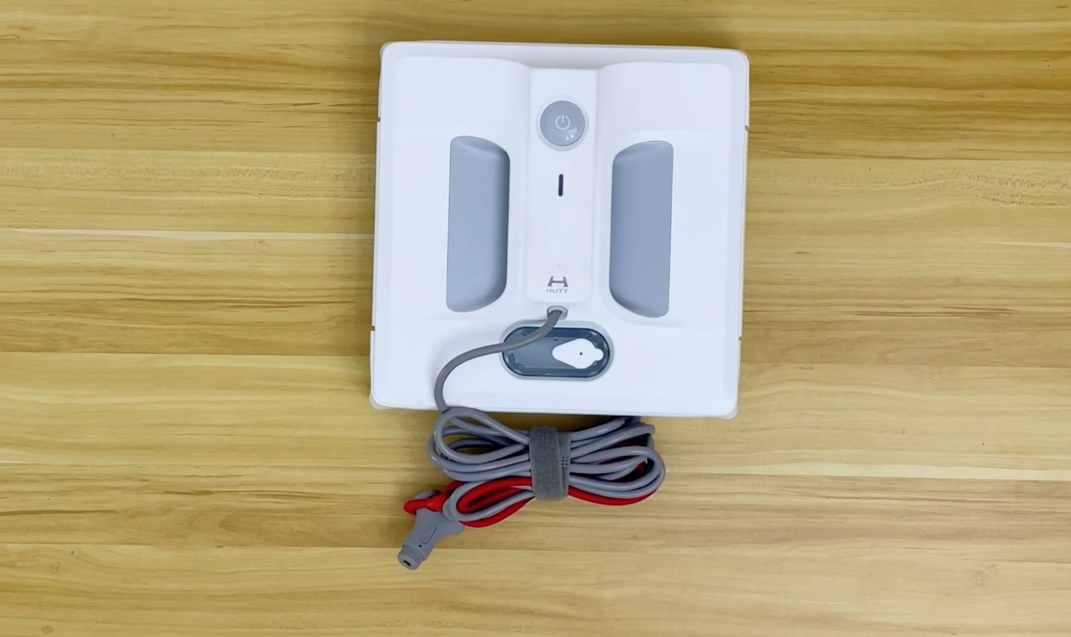
Attach the Cleaning Cloth: Install the microfiber cleaning pad flat and securely.

-
Crucial: Make sure the cloth does not block or cover any of the robot’s detection sensors/apertures.
-
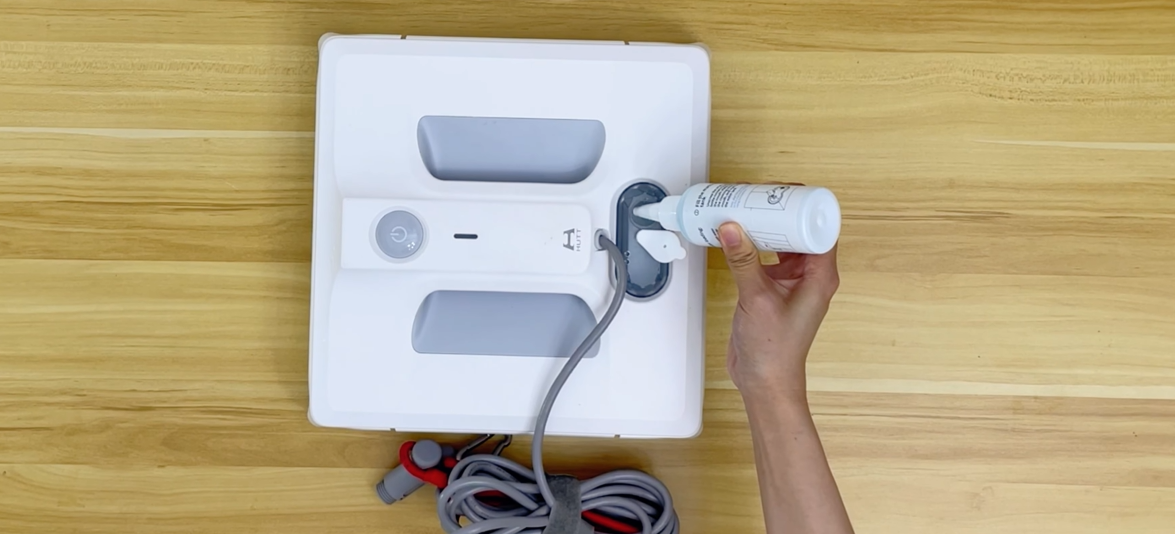
Fill with Cleaning Solution: Pull out the water tank silicone plug, fill the tank with purified water or dedicated glass cleaning solution, and firmly reseal the plug.
-
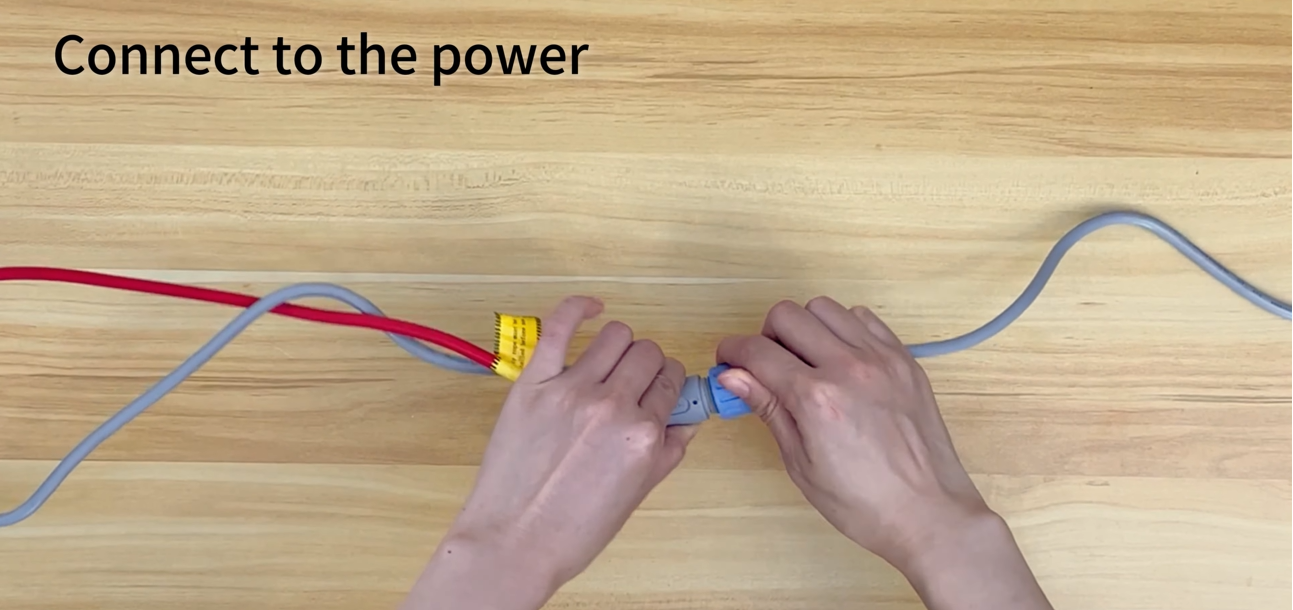
Connect Power: Plug the robot’s power cable firmly into the adapter, connect the AC power cord to a wall outlet, and make sure connections are tightly fastened.
-
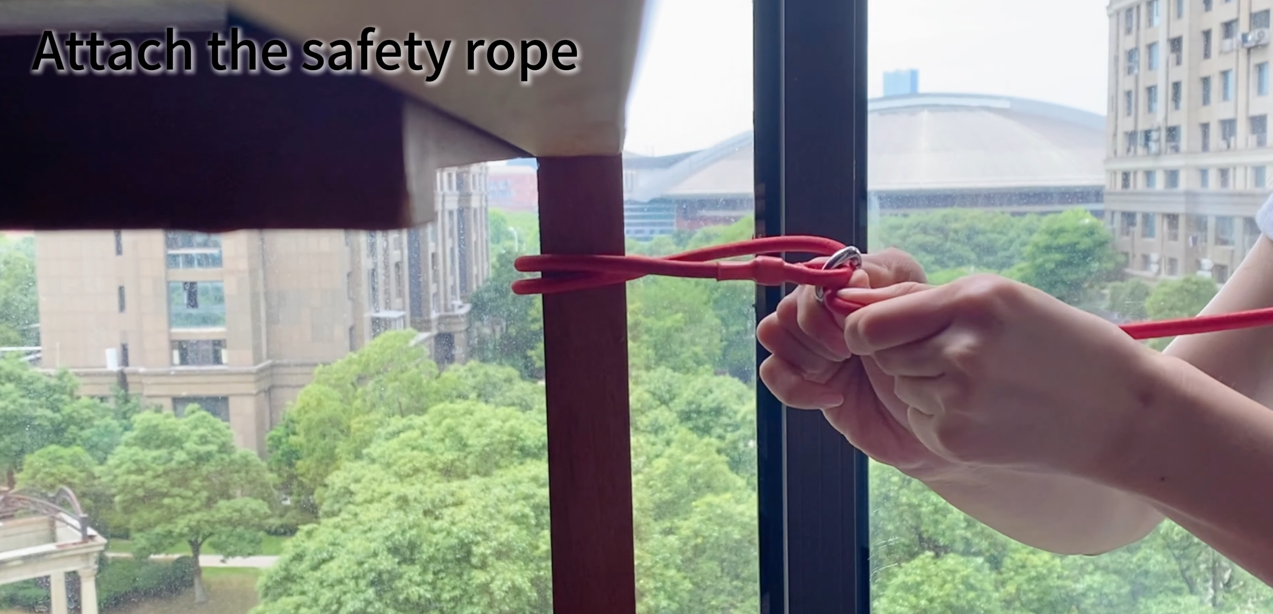
Secure the Safety Rope: Fasten the safety carabiner to a solid, immovable structural fixture indoors. Wrap it 1 to 2 loops around the anchor point to guarantee a fail-safe lock.
2. Starting Up & Cleaning Modes
Once positioned on the glass, you can select optimal cleaning paths:
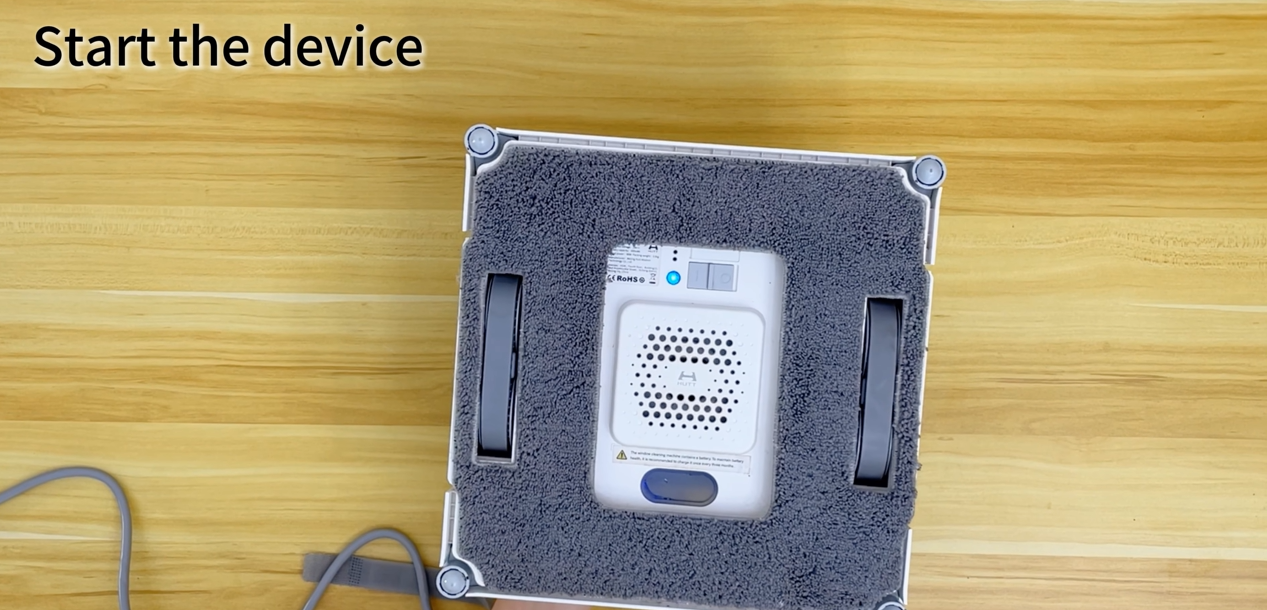
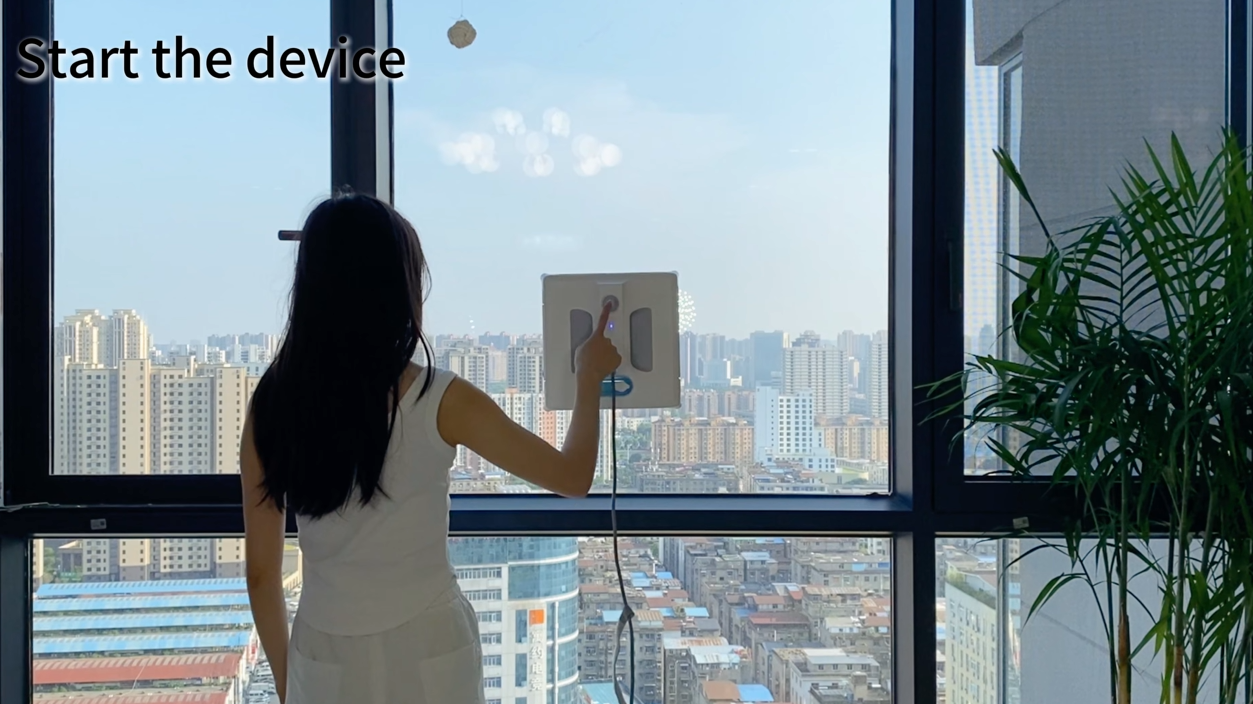
- Power On & Start: Turn on the main power switch, press and hold the Start button for more than 1 second, then press the power/start button to begin operation. The robot defaults to a comprehensive Z-shaped path.
- Switching Modes: Press the mode switch button to toggle between N-shaped mode (ideal for tall vertical windows) or Border / Edge mode (dedicated perimeter cleaning).
- Smart Wet Mopping: In wet cleaning mode, the robot dynamically regulates water spray frequency and nozzle positioning based on the detected window dimensions.
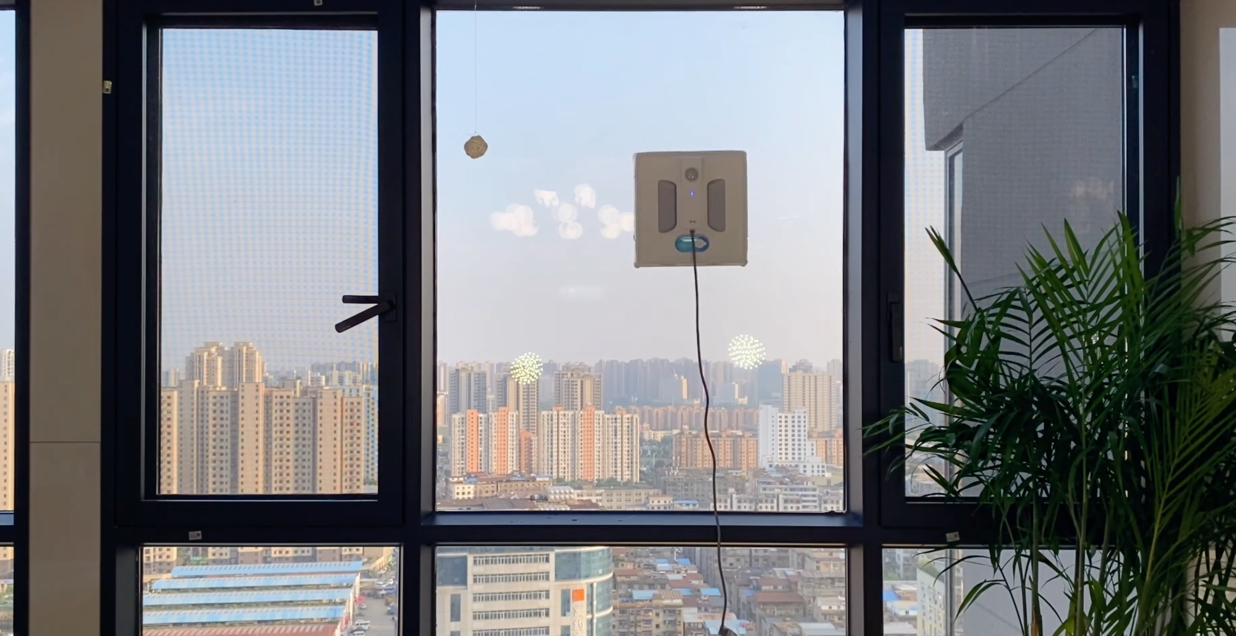
- Task Completion: When finished, the robot automatically returns to its starting point. Note: If not retrieved within 1 minute, it will automatically restart wiping to prevent dust accumulation.
3. Remote Control & Safe Retrieval See Today’s Deal on Amazon
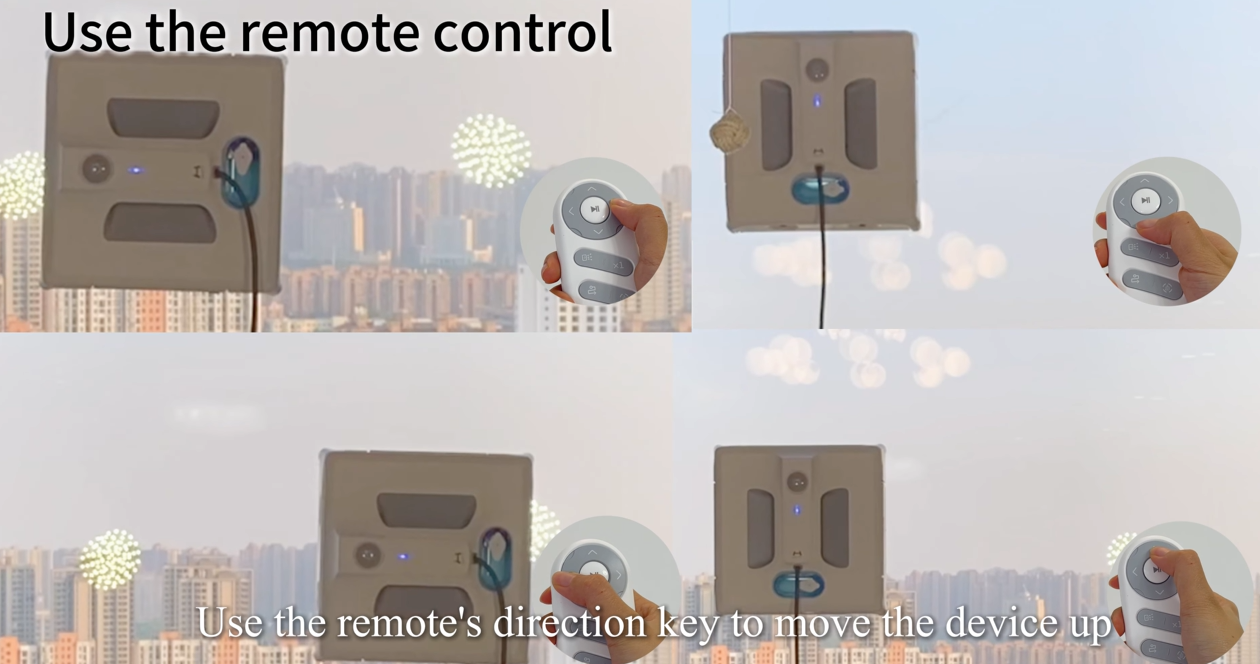
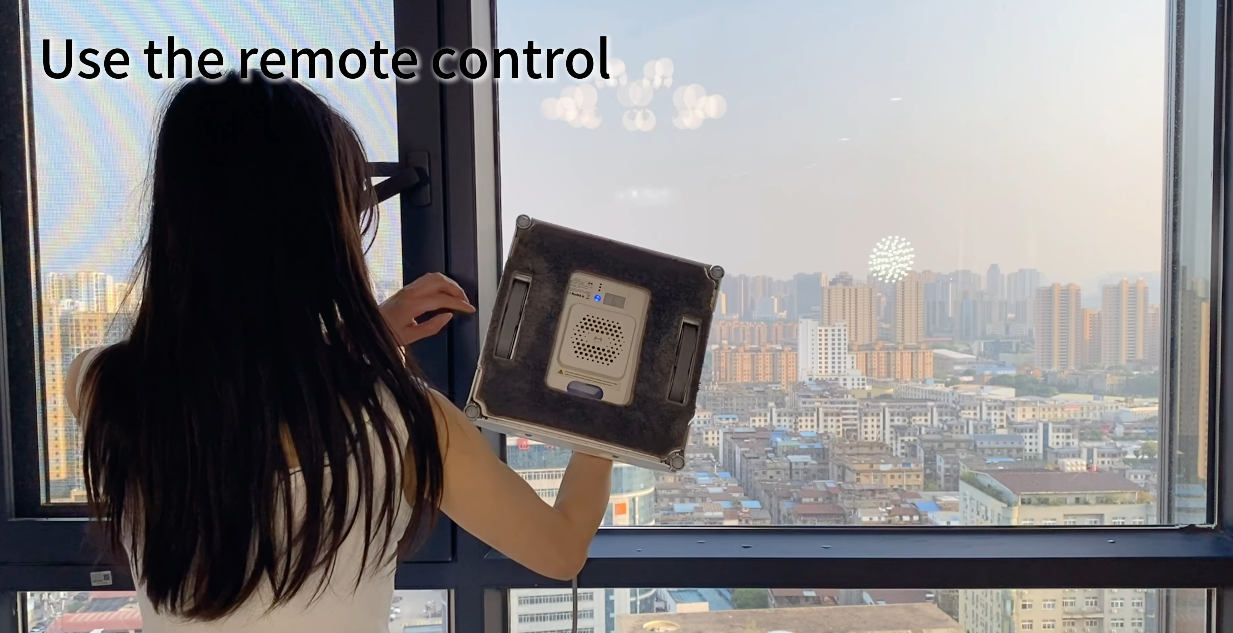
Using the included remote control gives you total manual oversight:
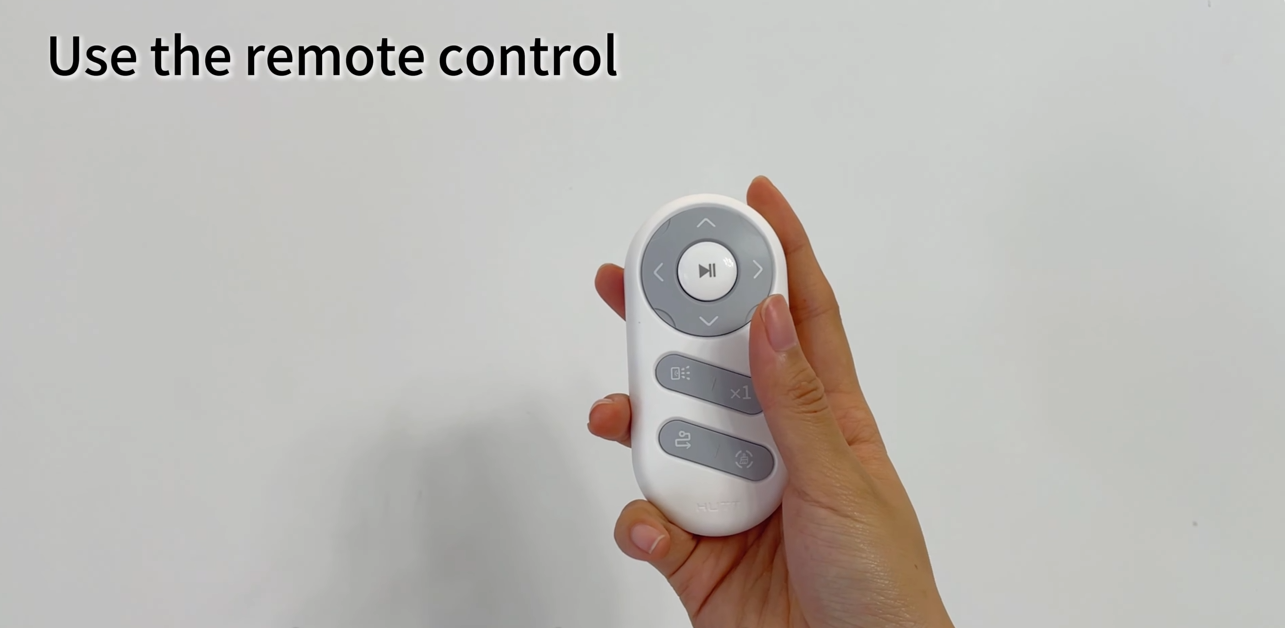
- Dry / Wet Mopping Toggle: Press the Water Spray button on the remote to turn off spraying (switch to dry wiping); press it again to re-enable wet spraying.
- Manual Navigation & Spot Cleaning:
- Use the directional arrow buttons (Up, Down, Left, Right) for precise manual movement.
- Press the Rewipe button to repeat a pass, or cycle through N, Z, and Border modes using the Path key.
- Press the Spot Clean button to command the robot to thoroughly scrub a stubborn, heavily soiled area.
- Safe Removal: Once wiping halts, firmly hold the handle of the robot with one hand and press the power button. Wait until the vacuum motor spins down and suction pressure is fully released before gently lifting the robot off the glass. Finally, turn off the main power switch.
4. Operating Environment & Important Precautions
To prevent drops and protect your glass, adhere strictly to these operating requirements:
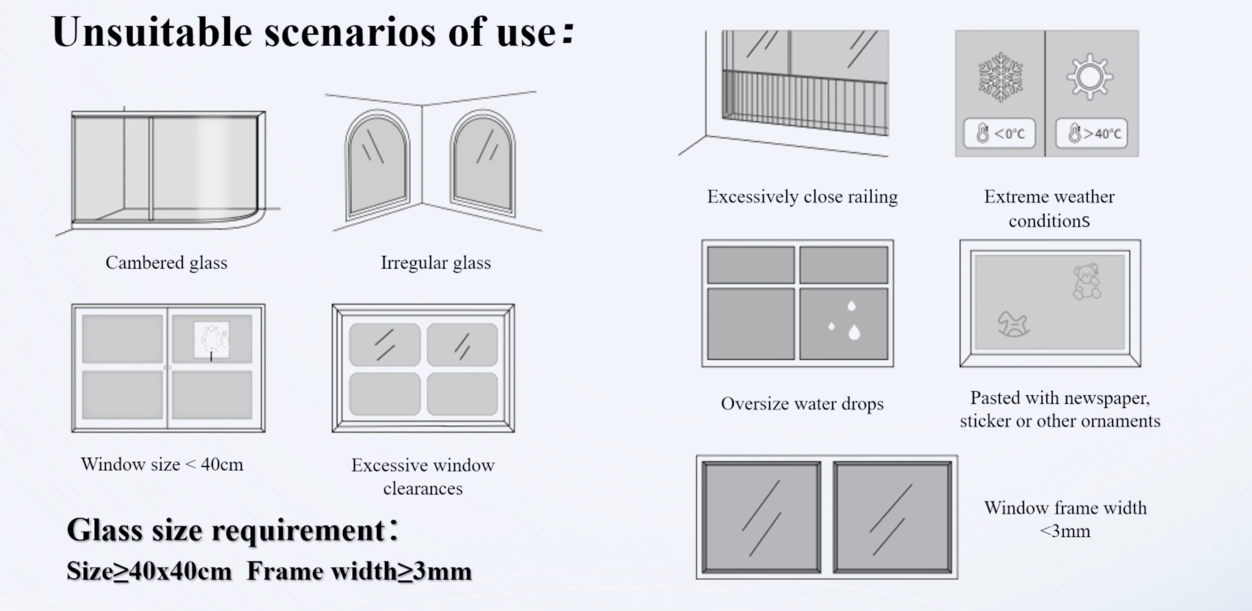
- Window Compatibility: Suitable only for windows with a frame height greater than 3 mm and a surface area of at least 40 × 40 cm. (For frameless setups or other models, check our window robot buying guide).
- Avoid Hazardous Surfaces: NEVER use on cracked glass, ultra-narrow frames, beveled/angled frames, ultra-thin borders, uneven/textured glass, or surfaces with protruding glue spots or air leakage gaps.
- Handling Special Scenarios:
- Excessive Moisture: If the glass is dripping or overly wet, wipe a dry patch matching the robot’s size by hand first before mounting it.
- Heavily Soiled Windows: Lightly mist the exterior surface beforehand to soften crusted grime.
- High-Altitude Retrieval: If the robot stops out of reach, steer it lower with the remote control. If the remote runs out of battery or loses signal, gently and slowly pull the safety tether to bring the robot within arm’s reach.
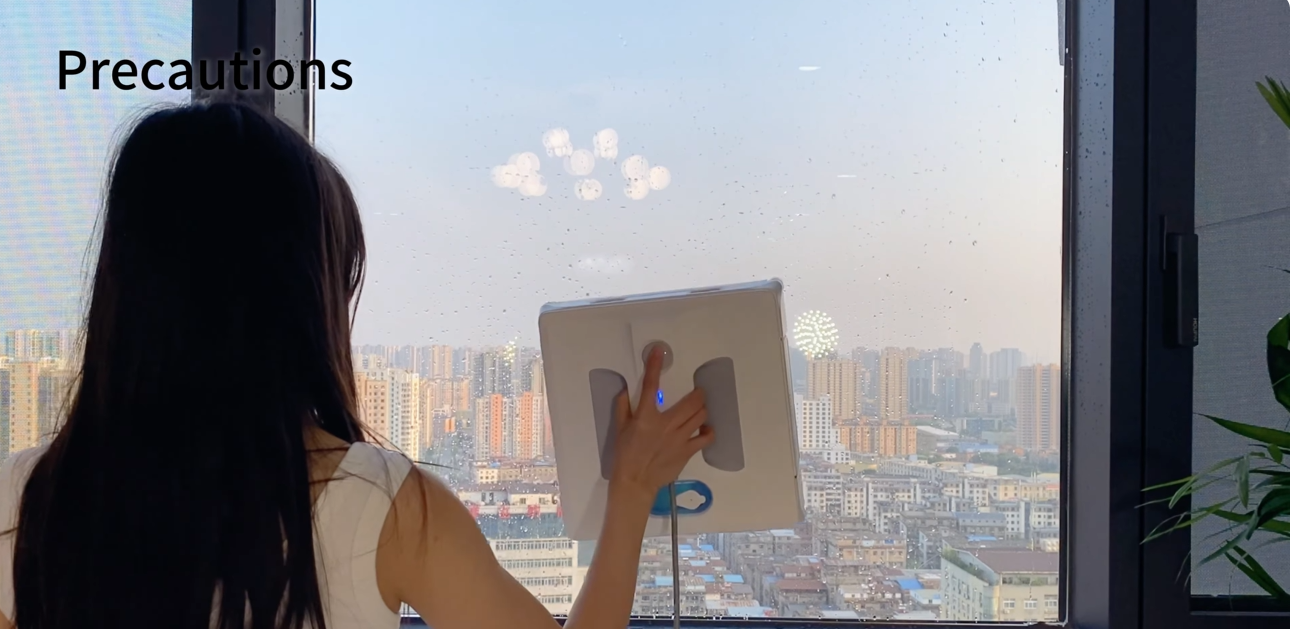
- Preventing Scratches: Never place the robot directly on the floor after use. Dust, grit, or sand trapped in the tracks or cleaning cloth can severely scratch glass surfaces during subsequent cleaning sessions.
5. Cleaning & Maintenance
Keep your robot performing at peak suction and longevity with routine care:
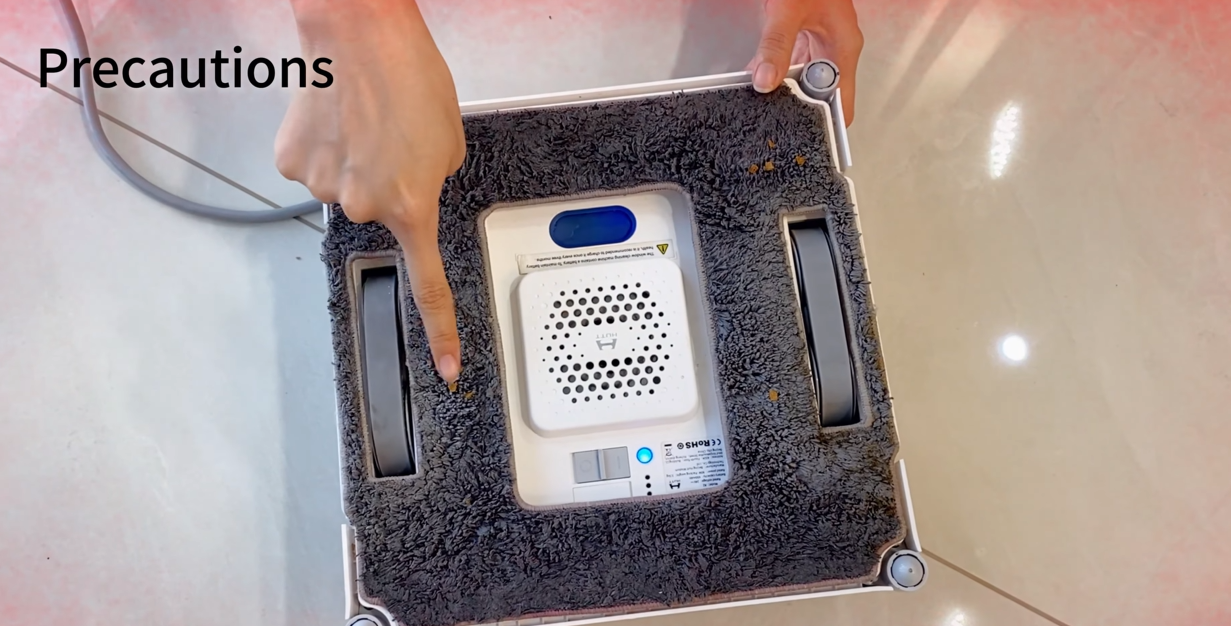
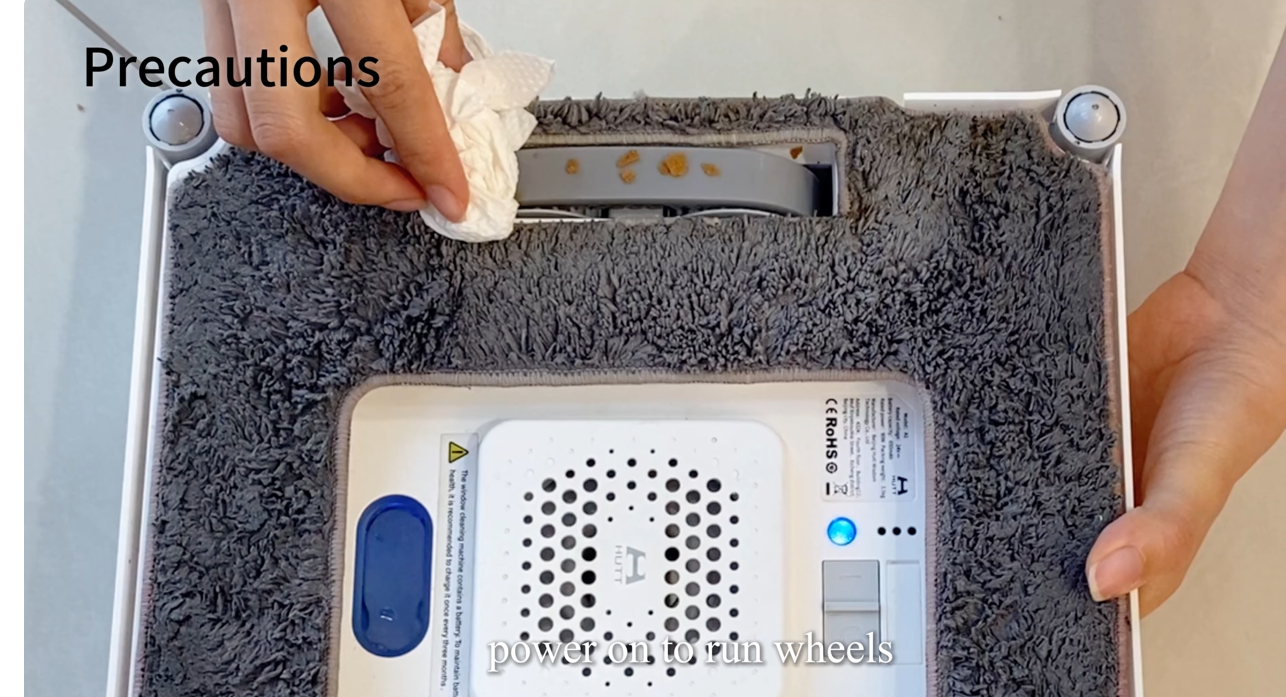
- Tread / Track Cleaning: When the rubber driving tracks get dusty, stand the robot vertically on its side, power it on to let the tracks idle in the air, and wipe them clean with a moist wipe or microfiber towel.
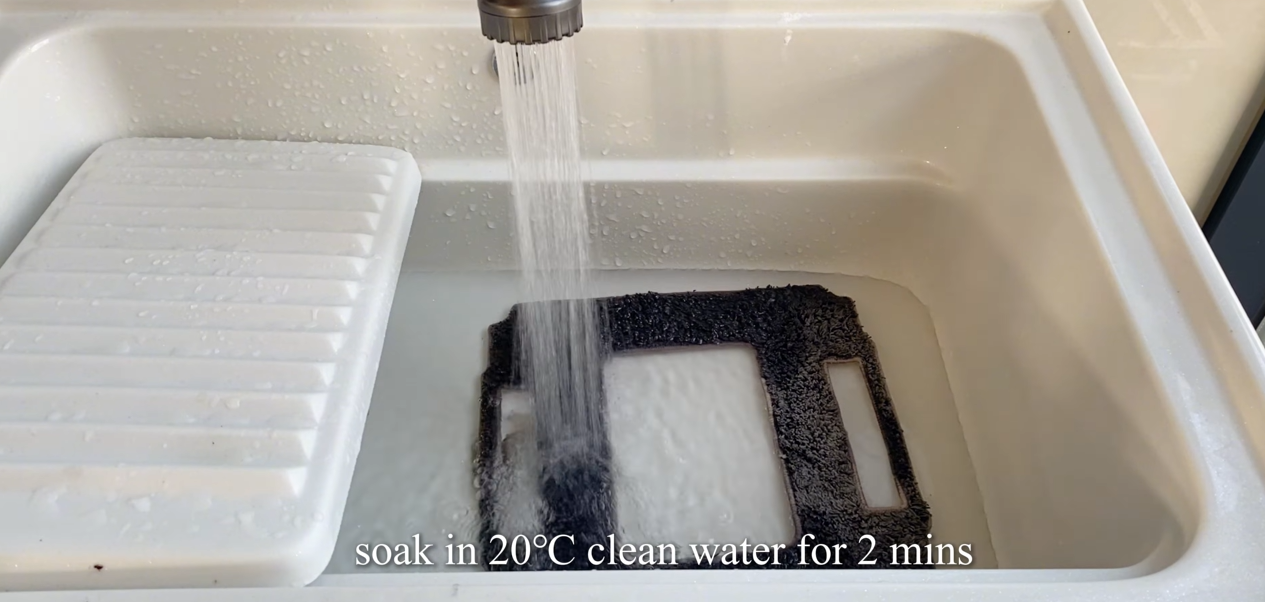
- Washing the Cleaning Cloth: Detach the cleaning pad and soak it in 20°C clean water for 2 minutes. Clean gently with a soft brush. Do not wring out forcefully; hang it up to air dry completely before the next session.
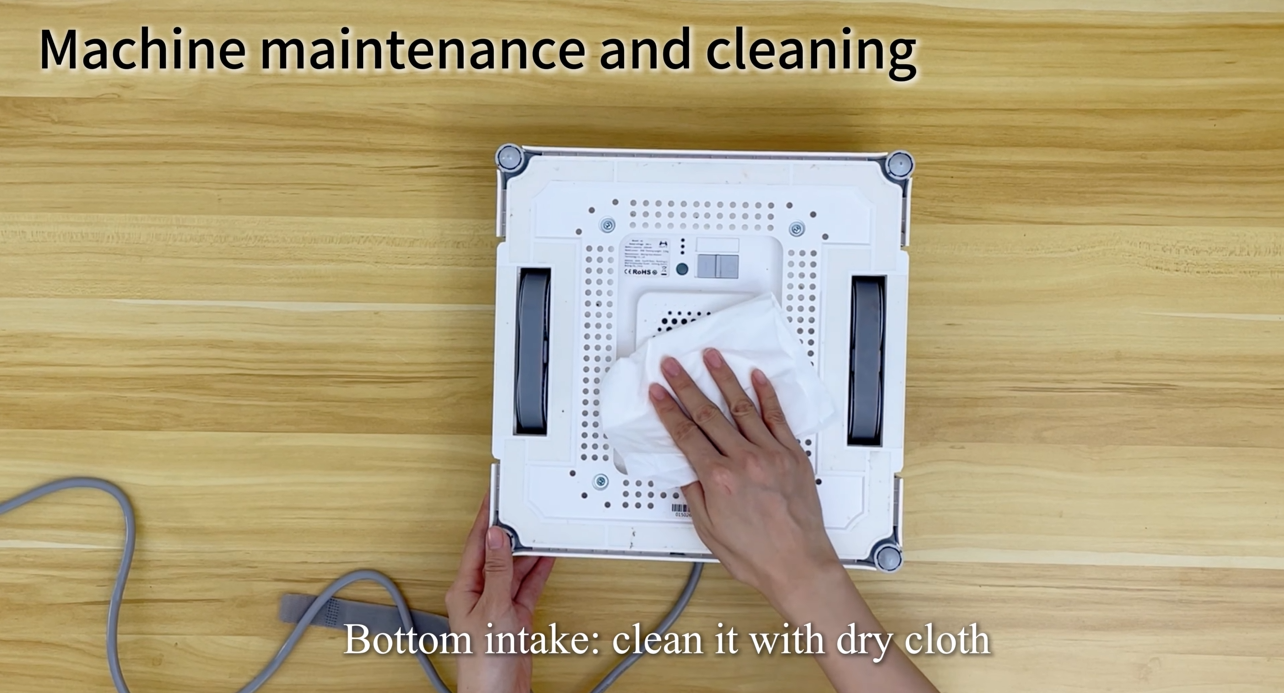
- Suction Air Inlet: Wipe the bottom air intake port with a dry cloth regularly to prevent lint and dust accumulation from reducing suction power.
- Storage & Winterization:
- Empty any remaining fluid from the water reservoir, and store with either a clean dry pad attached or pads detached.
- After wet mopping tasks, leave the unit in a dry, cool, well-ventilated space for 1 to 2 days to thoroughly air-dry internal moisture before packing it back into its storage box.
Related Reviews & Comparisons See Today’s Deal on Amazon
Looking for more smart window cleaning alternatives? Explore our in-depth reviews:
- Schbot Wind X3 Window Cleaning Robot Review
- Winbot W2 Pro Omni Review
- Window Cleaning Robot Buying Guide
- Why People Love Window Cleaning Robots
Check out the official listing or order yours today: HUTT A1 Window Cleaning Robot on Amazon.